open web-ui 是一個很方便的界面讓你可以像用 chat-GPT 那樣去跟 ollama 運行的模型對話。由於我最近收到一個 Zoraxy 的 bug report 指 open web-ui 經過 Zoraxy 進行 reverse proxy 之後出現問題,所以我就只好來裝裝看看並且嘗試 reproduce 出來了。
安裝 ollama
我這裡用的是 Debian,首先第一件事要做的當然就是安裝 ollama。教學在他們的網上有我這裡就直接寫 code 出來了。
https://ollama.com/download/linux
curl -fsSL https://ollama.com/install.sh | sh在執行這個 bash script 之後它會自動建立一個 systemd 的服務。預設 ollama 的 web server 只能透過 localhost loopback interface 存取,如果要透過其他網絡才能存取到 ollama 的 API 的話,我們就要讓它同時 listen to 其他的 network interface。最簡單直接的方式是把預設的 systemd service 檔案改成這樣:
sudo systemctl stop ollama.service
sudo systemctl edit ollama.service
然後在 service 檔案裡加入下面那行(見備注)
### Editing /etc/systemd/system/ollama.service.d/override.conf
### Anything between here and the comment below will become the new contents of the file

# 加入下面這兩行
[Service]
Environment="OLLAMA_HOST=0.0.0.0:11434"
#下面的不要碰

### Lines below this comment will be discarded

### /etc/systemd/system/ollama.service
# [Unit]
# Description=Ollama Service
# After=network-online.target
#
# [Service]
# ExecStart=/usr/local/bin/ollama serve
# User=ollama
# Group=ollama
# Restart=always
# RestartSec=3
# Environment="PATH=/usr/local/bin:/usr/bin:/bin:/usr/local/games:/usr/games"
#
# [Install]
# WantedBy=default.target
儲存並退出之後重啟 ollama systemd 服務
sudo systemctl start ollama.service抓模型
因為我比較喜歡用 CLI,所以我就直接透過 ssh 來順便把模型也載下來。這裡我在試玩的是 qwen:https://ollama.com/library/qwen
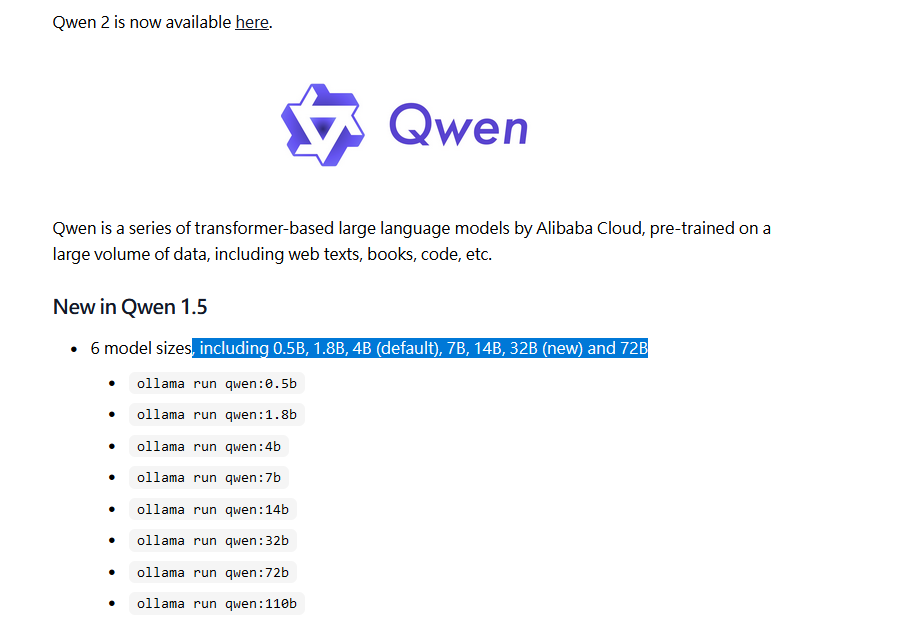
一般模型也會有不同大小,而我選這個是因為我要省空間(對,SSD 快要炸了),所以我就選了比較小的 1.8b 版本。你可以用這個指令來讓 ollama 準備這個模型:
ollama run qwen:1.8b如果要其他大小的模型的話,只要把後面的 1.8b 換成 4b / 7b 之類的就好了。另外比較有名的包含 llama3 之類也是可以透過這樣的方式下載。
值得一提
如果你的 root disk (Linux 的 / 或是 Windows 的 C: 硬碟)不夠空間跑你想測試的模型,你可以在啟動 ollama 的 environment 參數裡面更改 OLLAMA_MODELS 的值,例如:
Environment="OLLAMA_MODELS=/media/mydisk/models/"安裝 open web-ui
這個安裝就有點複雜了。如果你沒有用過 docker 的話你會需要先安裝 docker 及其 dependencies。這裡我比較推薦 docker official 教學,ollama 上面那個搞得有點複雜對於新手不太友好(?
https://docs.docker.com/engine/install/debian/
# Add Docker's official GPG key:
sudo apt-get update
sudo apt-get install ca-certificates curl
sudo install -m 0755 -d /etc/apt/keyrings
sudo curl -fsSL https://download.docker.com/linux/debian/gpg -o /etc/apt/keyrings/docker.asc
sudo chmod a+r /etc/apt/keyrings/docker.asc

# Add the repository to Apt sources:
echo \
  "deb [arch=$(dpkg --print-architecture) signed-by=/etc/apt/keyrings/docker.asc] https://download.docker.com/linux/debian \
  $(. /etc/os-release && echo "$VERSION_CODENAME") stable" | \
  sudo tee /etc/apt/sources.list.d/docker.list > /dev/null
sudo apt-get update

# Install the Docker packages
 sudo apt-get install docker-ce docker-ce-cli containerd.io docker-buildx-plugin docker-compose-plugin

# Verify installation
sudo docker run hello-world
注:在未來有人看到這篇的時候說不定上面的教學已經過期了。建議還是直接去 docker official doc 那邊看。
然後就是安裝 open web-ui。這個也是一行 docker 指令就好的步驟:
docker run -d -p 3000:8080 --add-host=host.docker.internal:host-gateway -v open-webui:/app/backend/data --name open-webui --restart always ghcr.io/open-webui/open-webui:main然後你就可以打開你電腦的 IP 地址 + :3000 port 來看到你的 open-webui 介面。例如說因為我是裝在另一台 vm 裡面的,所以我要在電腦的瀏覽器上打開
http://192.168.1.202:3000
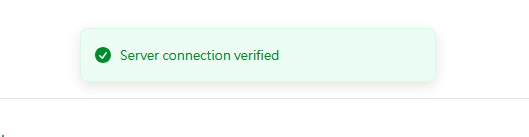
(這裡 192.168.1.202 是我 VM 的 ip 地址,你可以在 terminal 裡用 ip a 來看到 IP 地址)在建立帳號之後,在 Admin Panel 這邊選擇 “Connections”,然後按右邊的 Refresh 按鈕。如果有連上的話你應該會看到這個 message
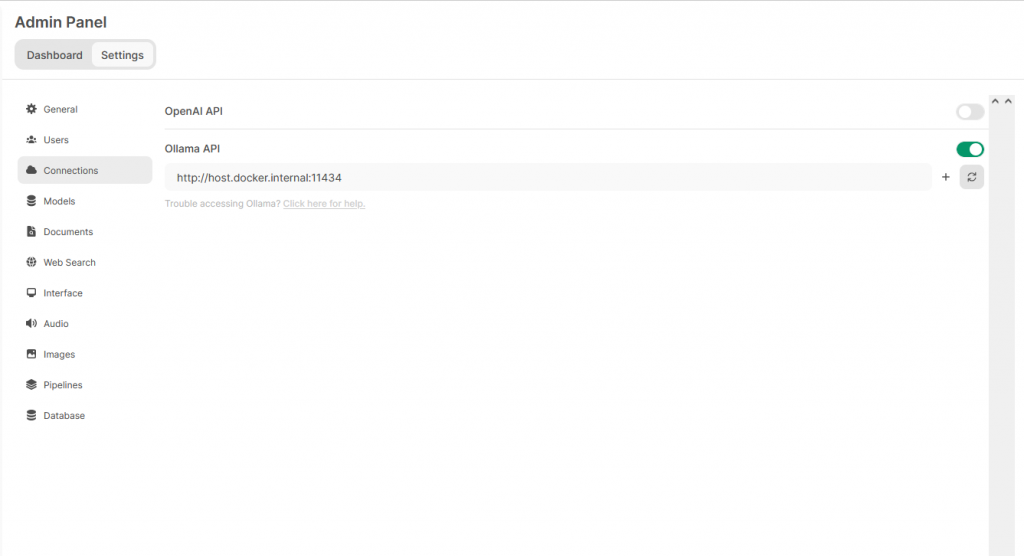
這裡的 host.docker.internal 是一個 private DNS 指向地址,一般是用來從 docker 裡面指到 host environment 用的。但是我這篇不是寫來解釋 docker networking 怎樣用,所以我就先跳過(
如果你的 ollama 是部署在另一台伺服器上面的,你可以把這裡改成另一台伺服器的 ip 地址或 domain name。
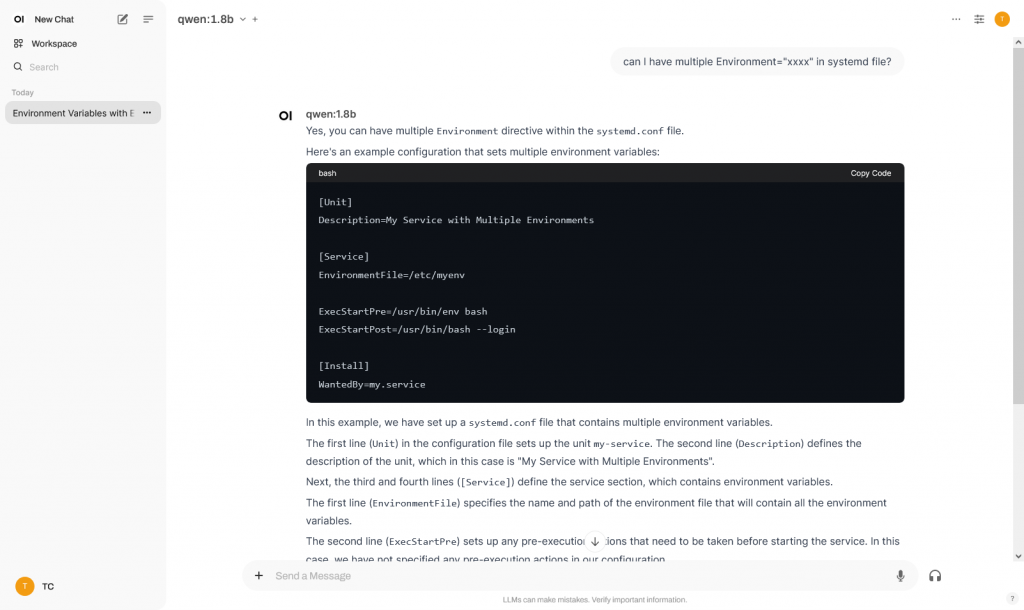
使用 open web-ui
要使用的話只要回到 New Chat,選擇剛剛下載了的模型
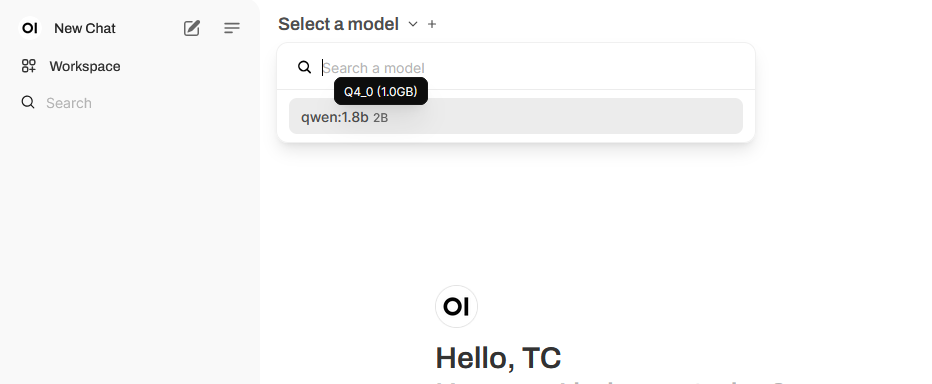
然後就跟 chatGPT 一樣跟它對話就可以了!